How to Use Dynamic Lighting in Roll20 (It’s Easier Than You Think).


You’re setting up a D&D session on Roll20. Great, you’ve come to the right place.
You’ve probably got your maps looking nice, and your tokens for all the heroes and monsters are ready to go, but something feels flat.
Everyone can see the whole dungeon, even the parts their characters haven’t discovered yet.
It takes away some of the mystery and fun. It’s like everyone has a map with all the secrets already revealed, and that can make exploring feel less special.
I felt the exact same way when I first started. I wanted that feeling of suspense you get around a real table, where the Dungeon Master slowly describes what you see as you move your miniature forward.
Well, my friend, let me tell you about a tool called Dynamic Lighting. It sounds super technical and scary, like something you need a degree for, but I promise you, it’s not.
It’s just a way to make the map only show what your characters can actually see. If they’re carrying a torch, they see a circle of light around them. If they walk around a corner, they discover what’s there.
It’s great for making the game feel real and unpredictable. I was so nervous about trying it for the first time.
I thought I’d need to be a computer expert or a programmer. I put it off for months because it seemed too complicated.
But after a bit of fiddling, it became my favourite thing. It makes my players gasp when they turn a corner and something is suddenly there.
It makes them jump when a monster emerges from a dark part of the map that they couldn’t see. It’s a total game-changer for building tension and telling a better story together.
Let’s walk through it together, step by step. You can do this! We’ll take it slow, and I’ll explain it, helping you set it up for your next game. There’s no rush, and it’s okay to make mistakes.
My first attempt was full of them, but it still worked well enough to amaze my players.
The goal here is to have fun and add a new layer of excitement to your games, not to become a master technician overnight.
So, grab a drink, get comfortable, and let’s swoop into making your digital dungeons a little darker and a whole lot more exciting.
What Even Is This “Dynamic Lighting” Thing?
We need to understand what this tool is actually doing before we start clicking buttons. Suppose you’re in a pitch-black room with a flashlight.
You can only see what the flashlight beam shines on, right? You can’t see behind you or through the walls.
The darkness is full of unknowns. Dynamic Lighting does that exact same thing for your characters on the digital map.
It replicates the experience of limited vision, which is a core part of exploring dangerous places in games like D&D.
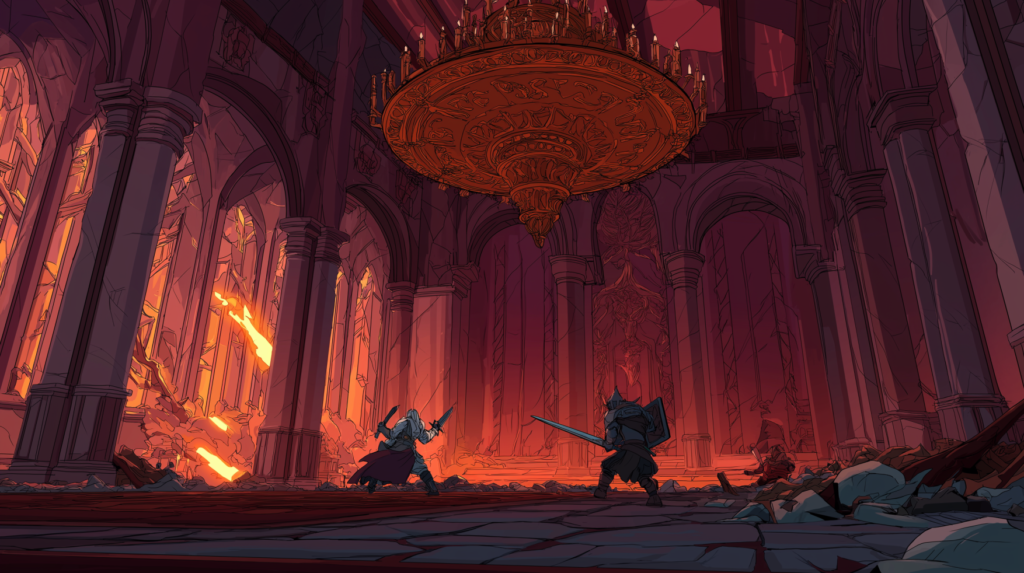
Without this tool, when you load a map of a spooky castle, every player can see the entire layout, the secret monster hiding in the closet, the trap door in the throne room, the treasure chest behind the curtain, everything!
It’s impossible for them to separate what their character knows from what they, as a player, can see on the screen.
This can accidentally spoil big surprises and make it hard to build a sense of discovery.
With Dynamic Lighting, each player’s view is limited to what their own character can see from their own eyes.
One person is just looking straight ahead. Another person’s light shows a little bit of the room, but they can’t peek through walls or doors.
This creates real tension and excitement.
The first time a player says, “I slowly push the door open… what do I see?” and the room is revealed just to them, it’s a magical moment. They lean forward in their chairs. They describe their actions more carefully.
They talk to each other more, saying things like, “What do you see over there? My character can’t see that far.”
It changes the game from looking at a complete picture to actually exploring an unknown space.
Getting Everything Ready to Go
Before we turn on the lights, we have to make sure we have the right parts. You wouldn’t try to bake a cake without flour and eggs!
For Dynamic Lighting to work, you need to set up a few basic things first. The most important thing is your map.
You may already have this. It’s the picture of the dungeon or forest you’re playing in.
This can be anything you’ve drawn yourself or an image you’ve uploaded from somewhere else. The map itself is just a picture; it doesn’t have any special properties yet.
The magic happens on a separate, invisible layer on top of your map called the Lighting Layer. This is where you will draw lines that act as walls.
The “light” from the character tokens can’t pass through these lines. Think of it like putting a clear piece of plastic over your map and using a marker to outline all the solid objects.
First, you need to be the Game Creator (the Dungeon Master) for the game on Roll20. Then, you have to make sure you are using a paid subscription. I know, I know, paying for stuff is a bummer.
The free version of Roll20 is fantastic, but Dynamic Lighting is a feature for Plus and Pro members. The Plus tier includes a basic version of the tool, while the Pro tier provides access to the most advanced features.
It’s the one big thing that made me decide to upgrade, and I really don’t regret it.
To check your subscription, click on your game in your Roll20 account and look for the “Settings” page.

You’ll see your subscription level there. If you’re not subscribed, you’ll need to do that first. It’s a monthly or yearly fee.
Once you’re all set, open your game and let’s go to the specific map page you want to set up. Make sure your map is sized correctly on the page; you can adjust the size of the map image so that the grid lines up if it has a grid.
This will make drawing your walls much, much easier later on. Getting the setup right now will save you a lot of time and frustration later, so it’s worth taking a few minutes to get organised.
Drawing the “Invisible Forcefield” Walls
This is the most important part, but it’s also like playing a simple video game. It might seem daunting, but it’s really just about drawing lines.

On the right side of your screen in Roll20, you’ll see a vertical toolbar with lots of little buttons. Look for the button that looks like a flame icon.
Clicking that button opens up the Lighting Layer. You’ll notice your map might look a little different; this is normal.
You are now working on that invisible sheet of plastic on top of your map.
Now, you’ll see some new drawing tools appear. The ones you will use the most are called the Polygon Tool and the Rectangle Tool.
These are your digital markers for drawing walls. Your job is to trace all the walls of your map.
Imagine you’re putting up an invisible, digital forcefield everywhere there’s a wall, a big rock, a thick tree, or anything solid that light shouldn’t pass through.
The light from a character’s torch will stop at these lines, just like a real light would stop at a real wall.

For a straight castle corridor with square rooms, use the Rectangle Tool.
It’s the fastest way. Just click and drag to create a rectangle that covers the wall. For a cave with bumpy, uneven walls, use the Polygon Tool.
This lets you click point-by-point around the edge of the cave.
Click once to start, move your mouse, and click again to create another point. Keep going until you’ve outlined the area, and then right-click to finish the shape.
Don’t worry about being perfect!
You can always adjust it later. My first few tries were pretty messy, with lines overlapping and corners that weren’t quite straight, but they still worked just fine during the game.
The goal is to block the line of sight, not to create a perfect architectural drawing. For round objects like pits or wells, use the **Polygon/Line tool** to draw a rounded shape. The polygon tool generally performs better than the dedicated Circle Tool for dynamic lighting purposes.
The Move Tool (the arrow icon) lets you click on any wall you’ve drawn and move it or adjust its points if you make a mistake.
Giving Your Heroes Their “Eyes”
Now that our invisible walls are up, we need to give our characters the ability to see! This is done by editing their tokens, the little pictures that represent them on the map.
A token is just a picture with some information attached to it, and we need to tell it how to interact with the lighting layer we just created.
Find one of your player’s character tokens on the map.
If you haven’t placed them yet, you can drag one from the Journal tab on the right. Click on the token once.
A little menu will pop up above it. Double-click the token** to open its settings directly. Then, click the Dynamic Lighting tab to view the vision and light emission settings.
A big menu will appear with several tabs. This might look like a lot of options, but we only need a few.
Look for the tab that says Advanced and click on it. Now, look for a section called Dynamic Lighting. This is where the magic happens for the token.
There are two main settings here you need to know about. The first one is very simple: Has sight. You need to check this box!
This is what gives the token “eyes.” If you don’t check this, the character is effectively blind, even if you have lights and walls set up perfectly.
They will see darkness. The second setting is Emits Light. This is for if the character is holding a torch, a magical glowing sword, or can cast a light spell. If you check this, you can set how far the light shines.
A regular torch might be 20 feet, while a special light spell might be 40 feet. You can also choose the colour of the light for fun, but that’s not necessary.
You need to do this for every player character token. You should also do it for any important NPCs that might be moving with the party.
For monsters, I usually don’t bother unless it’s a special monster that is meant to be seen from far away.
It seems like a lot of work, but the good news is you only have to set it up once per token!
Once it’s saved, that token will always have these properties, even if you use it on a different map later. This saves so much time for future games.
The Big Test! Did It Work?
Now that your walls are drawn and your tokens have their sight, you have to test this. I learned this the hard way.
I thought I had it all set up for a super spooky dungeon, and when the game started, no one could see anything at all!
We had to stop the game for ten minutes while I figured out what went wrong. It totally killed the mood.
Testing for just a few minutes beforehand prevents this headache and makes you look like a tech wizard who has everything under control.
Testing is easy and kind of fun.
Turn On the System: On the page’s Page Settings menu (blue Page toolbar at top), click the Dynamic Lighting tab and ensure Dynamic Lighting is set to “On”.
Open the Player View: Select a token with sight and press Ctrl+L (or Cmd+L on Mac). A new tab or window is not required, as this instantly shows you the player’s view directly on the virtual tabletop.
This is the magic step! It’s like being in their shoes, and it is your secret window into their experience.
Perform the Test: Go back to your original window (the Game Creator view). Move a token around using your mouse. Watch what happens in the “Rejoin as Player” window.
- Can the token see down the hallway?
- Does a circle of light appear around it if you give it light?
- Does its sight stop perfectly at the walls you drew?
- Move it around corners and through doorways.
If it works, celebrate! You did it! If not, don’t panic. Just go back and check your work. The most common problem is a tiny gap in a wall somewhere, letting light leak through into areas it shouldn’t.
Use the tools to close the gap. Another common issue is forgetting to check the “Has Sight” box on a token.
Testing for five minutes can save you a lot of trouble and embarrassment during the game and ensure your amazing setup will work as intended.
Why This Feature Made Our Game Nights So Much Better
Let me mention how much using Roll20 has enhanced game night for me and my friends, especially when we added music to set the mood.
But that’s just one of the calm things you can do. My absolute favourite feature, the one that gets the biggest reaction from everyone, is definitely dynamic Lighting.
It completely changes how you experience a story together.
In this post, I want to show you how to use it in your own games to add a whole new layer of depth to your players’ surroundings.
The difference is honestly amazing.
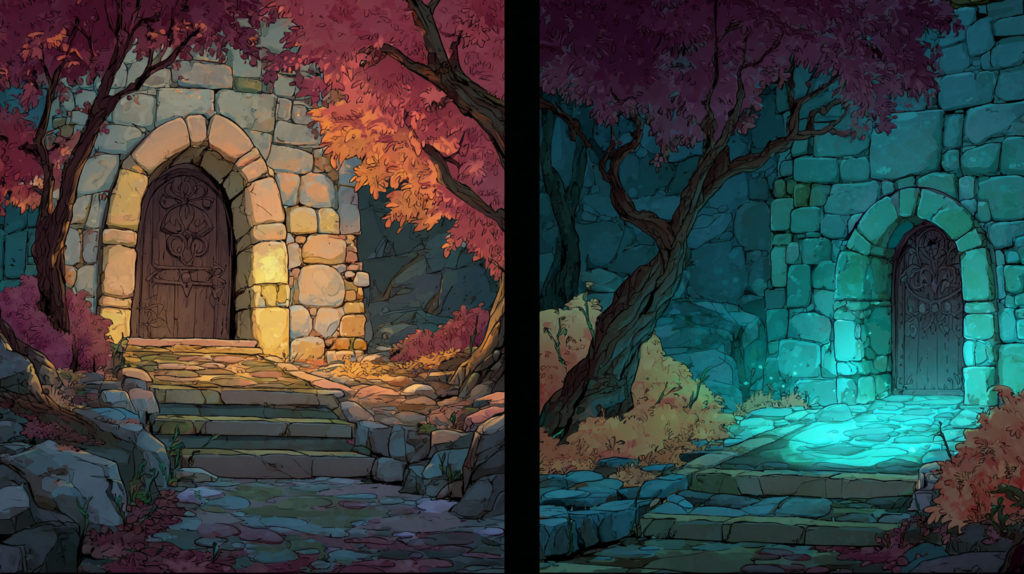
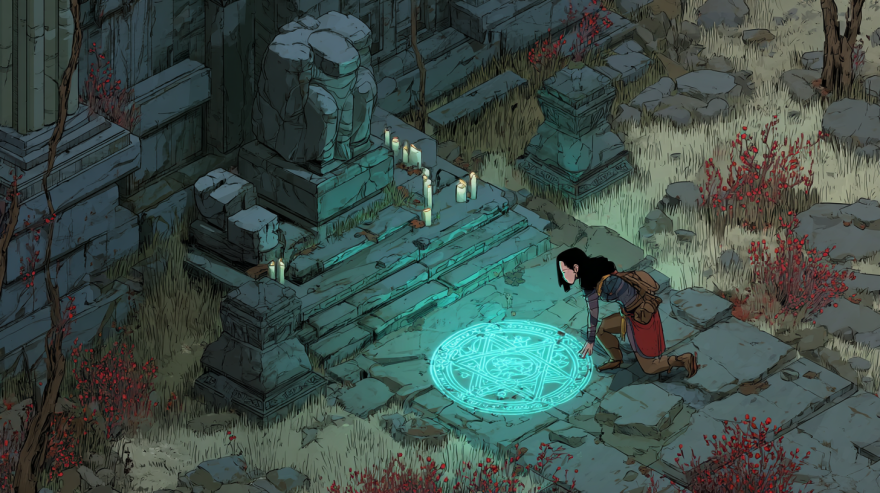
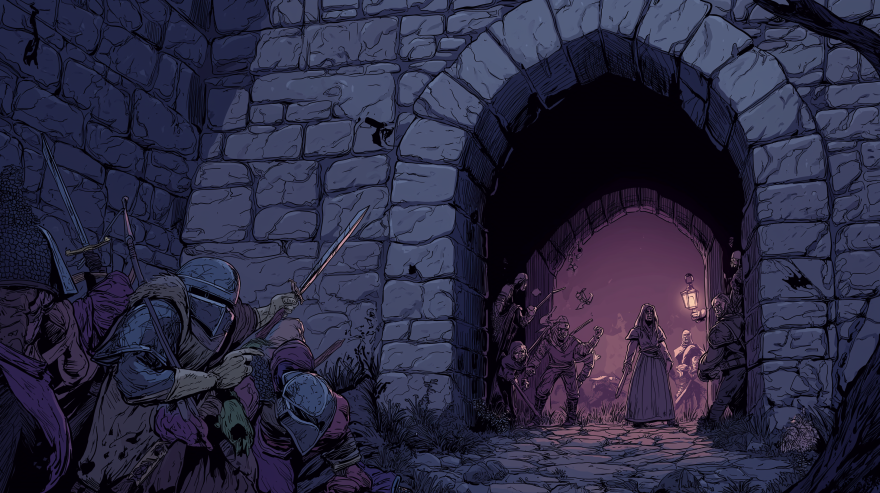
Just look at the comparison: the left side shows the map with dynamic Lighting, and only what the characters can see is revealed.
The right side is the same map without it, where all the secrets are laid bare from the start. What a difference it makes!
This tool gives you, as the game master, control over the players’ view of the world.
For games like D&D that have specific rules about darkvision and torchlight, it’s perfect.
But even for other games, it’s incredible for building atmosphere. If it’s night in the game, the players’ view should reflect that, making everything feel more real and immediate.
Gathering Your Tools Before You Begin
Okay, before we jump in and start creating, let’s make sure you have everything you need. It’s like checking you have all your ingredients before you start cooking a new recipe.
First, you’ll need to set aside a little extra time. There’s a small learning curve when you’re new to dynamic Lighting.
It took me a few different maps to really feel comfortable with it.
For each new map you create, plan for it to take an extra 10 minutes or more to set up, depending on the map’s size and detail. It is absolutely worth the investment, but it’s good to be prepared for that.
You will also need a subscription. This is one of the few features on Roll20 that isn’t part of the free account.
You’ll need either a Plus or a Pro subscription. For me, the dynamic lighting feature alone makes the cost of a Plus subscription more than worth it.
Finally, have your game’s rules for Lighting and line of sight close by.
You’ll need to know how far a light source illuminates or how far a character can see in the dark.
These rules can vary a lot between different game systems, so having your specific rules handy will make setting everything up much smoother.
The First Step: Flipping the Switch in Your Map Settings
The very first thing you need to do is tell Roll20 that you want to use dynamic Lighting on your specific map. It’s a simple setting toggle.
Find the settings icon for your map page; it looks like a little cogwheel.
Clicking that will open up the page settings menu. Scroll down until you find the section labelled “Dynamic Lighting.”
Here, you need to check the box that says “Enabled” to turn on the entire system.
I also highly recommend checking “Enforce Line of Sight” as it prevents players from seeing light on the other side of a wall, which is crucial for the effect to work properly.
There are a few other handy options here, too:
- Only Update on Drop: If a player is dragging their token, their vision won’t update until they place it down. This can help the game run more smoothly.
- Restrict Movement: This stops tokens from moving through the dynamic lighting walls you draw, which is great for keeping the game organised.
- Global Illumination: This keeps the entire map lit, but players still can’t see through walls. It’s useful for daytime scenes where you still want to block the line of sight.
Once you’ve chosen your settings, you’re all set to move on to the next part: the actual drawing! This is where the real magic happens.
Playing the Game with Your New Lights On
Game night arrives. Your walls are drawn, tokens are set, and you have tested it.
You’re ready! Take a deep breath. Remember, you are the only one who can see the whole map.
Your players will only see darkness until their tokens reveal it. This changes how you play and how you describe things in the best way possible.
Your players will have to talk to each other more.
They’ll say things like, “What do you see over there?” “I’ll move up a little so my torchlight shows the door.” “I’m staying back here in the dark hallway to listen for trouble.”
It encourages teamwork and communication because they are literally sharing their light and vision with each other.
It makes ambushes actually surprising and fun. The players won’t see the goblins hiding in the dark corner of the room until their light finally reaches that area! You can build genuine suspense.
Encourage them to use their other senses. If a player says, “I want to listen at the door,” you can describe the sound they hear. They have to use their ears and their wits, not their player’s knowledge of the map.
You can say things like, “As you round the corner, the edge of your light just catches a glimpse of something metallic on the floor ahead…” It might feel a little slower at first as everyone gets used to it, but that’s okay.
The tension and immersion it builds are worth it.
My players now refuse to play without it because it makes every discovery, every room, and every encounter feel earned and real.
It’s no longer just moving a token across a picture; it’s exploring an unknown world together.
Oops! Fixing Little Problems
Sometimes, things might go wrong. It happens to me all the time!
Technology has a mind of its own sometimes. The most important thing is not to get flustered.
Here’s how to fix the most common issues quickly so you can get back to the game.
- “My player can’t see anything! It’s all black!” This is the most common shout. This almost always means their token doesn’t have “Has Sight” enabled. Don’t panic! Quickly go to the settings, click on their token, edit it, and make sure that box is checked. This usually fixes it instantly.
- “We can see through the walls into the next room!” This means there’s a gap in your wall drawing. The light is leaking through. Apologise quickly, go back to the Lighting Layer, find the gap, and close it with the drawing tool. Your players will understand; it’s like a secret door you didn’t mean to make!
- “The game is getting slow and laggy when we move.” Very complex maps with thousands of wall lines can slow down older computers or internet connections. If this happens, you have a few choices. You can simplify your walls by using fewer lines. Or, you can just turn Dynamic Lighting off for that session by right-clicking on the map and deactivating it. The game is more important than the tool! You can always turn it back on later.
Don’t be afraid to say, “Hey everyone, the magic seeing-eye spell is acting up, let me just turn it off for a minute so we can keep playing smoothly.”
Your friends will understand. They would much rather keep playing than watch you struggle with technical problems for half an hour.
The goal is to have fun together, and sometimes that means taking a shortcut.
Conclusion
Look at you! You made it to the end.
See? It wasn’t so complicated. Dynamic Lighting might seem like a big, technical step, but it’s really just about drawing lines and checking boxes.
The payoff for your game is huge. It turns a flat picture into a living, breathing world full of darkness and danger.

It encourages your players to roleplay more, think strategically, and truly feel like they are exploring an unknown place.
Don’t stress about making it perfect. My first dungeon was a mess of lines, but my players still loved it and were completely gripped.
Just give it a try on a small, simple map first, like a basic five-room dungeon. You’ll get the hang of it, and soon you’ll wonder how you ever played without it. It’s a strong tool for telling better stories together.
Now go on, set up your next adventure and watch your players jump when a monster steps out of the shadows they created!
We’d love to hear from you and share your own stories, tips, or struggles with setting up your maps in the comments below!
FAQs
Q1: Do all my players need to pay for a subscription to see the Lightning?
No, not at all! Only you, the Game Creator (the DM), needs to have the Pro or Plus subscription.
Your players can use completely free accounts and will still be able to see and use all the Dynamic Lighting features you set up. They don’t have to do anything special on their end.
Q2: My map has a second floor. How do I do that?
While possible, using separate pages for each floor is the standard and more reliable method for multi-level maps, not the “Restrict Movement” option.
Q3: Can I use this for outdoor maps, like a forest?
Absolutely! You don’t have to wall in the entire map. You can use the bumpy Polygon Tool to draw around big trees, large rocks, and hills.
This means players can’t see through a grove of trees, making it perfect for ambushes or hidden secrets.
You can block line of sight for specific areas while leaving open fields clear and visible.
Q4: What if I get stuck and can’t figure it out?
The Roll20 website has a really good and friendly Help Centre with articles and pictures that explain things.
You can also find many video tutorials on websites like YouTube by searching for “Roll20 Dynamic Lighting beginner guide.”
There’s a whole community out there ready to help! You are not alone in figuring this out.